INSTALL GUIDE
Application, Drying Time, & Removal
INSTALLATION
Clean the Display
All debris must be completely removed from the surface and surrounding edge. Once clean, generously coat with Application Solution and leave it wet.Spray and Peel
To avoid fingerprints, spray fingers with solution before peeling the shield from the liner like a sticker. Spray both sides of the shield with solution and place it on the display.Position on Display
Gently slide the shield until centered, leaving an even gap between the shield edges and the display border (about 1/32" all around).Squeegee to Secure Shield
Remove excess solution and bubbles with slow, overlapping strokes. Repeat at least 2-3 times, increasing pressure with each pass.Absorb Excess Moisture
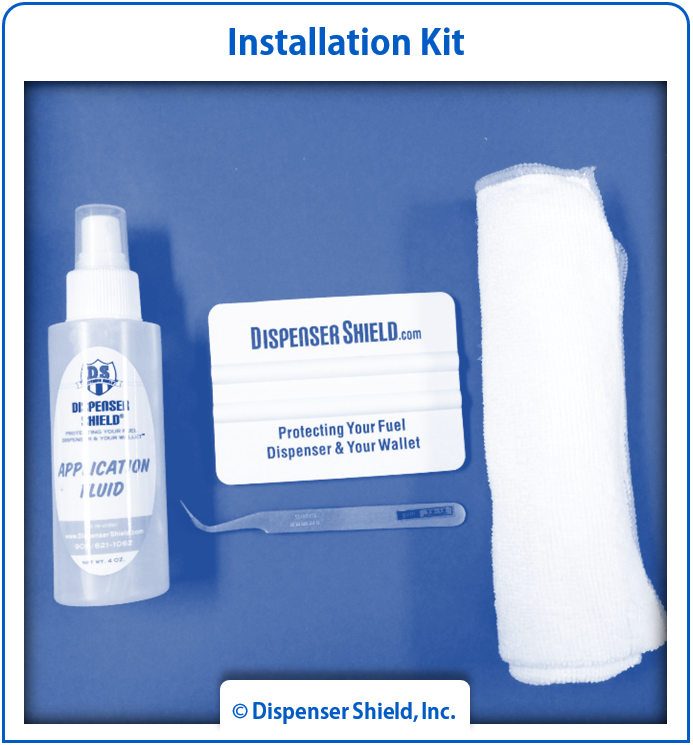
Wrap squeegee in cloth and firmly "bump" edges to seal the shield's adhesive. Wipe away any remaining solution.
APPLICATION SOLUTION
Fill a 32 ounce spray bottle with distilled water (not tap) and add 1/4 teaspoon of JOHNSON’S® Baby Shampoo. Shake gently to mix.
For installation during rainy, windy, freezing or extreme heat conditions, please see Weather Guidelines below.
curing time
During the first day or two, you may notice a slight haze or perhaps some small bubbles remaining. This is temporary and will disappear as the adhesive dries and has bonded secured to the protected surface. Visibility should not be impaired.
Outdoor Dry Time: 1-3 days
Indoor Dry Time: 3-5 days
CARE + MAINTENANCE
Wait at least 5 days after application before cleaning. This allows the shield to create a secure bond with the protected surface.
Use soft, non-abrasive cloths and gentle cleaners such as ammonia-free Windex® only. Avoid industrial strength chemicals such as acetone and alcohol.
REMOVAL + Replacement
First, thoroughly clean the exposed display surface and surrounding edge to minimize debris during replacement. Use the provided Application Tool to apply pressure at a corner edge to break the adhesive bond. Once a corner is lifted, the shield can be peeled away by hand, residue-free.
weather GUIDELINES
Once shields have finished curing, they’ll be unaffected by extreme temperatures, but harsh weather conditions can make the initial installation a challenge. Ideal installation temperatures are between 50-90F. Please follow these guidelines for best results:
Rain, Snow, and Wind
Don’t install during precipitation or strong winds. Wind stirs up excess debris and precipitation can cause debris to run off the surrounding area and get stuck behind the shield.
Extreme Cold
Don’t install if there’s a chance of freezing temperatures (below 32F) within one week of installation. Application Solution may freeze and form crystals before the shield has a chance to finish curing.
Extreme Heat
Don’t install if the temperature of the protected surface exceeds 120F or is too hot to touch. On very hot days, avoid installing on the side that will be in direct sunlight at the time of installation.


